
Back in October 2022 I purchased a 2017 Ford F-150 and it has taken me until now (April 2024) to get my HF radio installed. The final impetus was the upcoming Club mobile radio ‘show and tell’ event scheduled for Saturday 25th May. Here’s a few words and photos to show how I chose to install the radio and antenna.
The first and for me the biggest dilemma is where and how to mount the antenna. I already own a Yaesu FT-100D mobile radio and an ATAS 120A, which is a mobile antenna like a screwdriver antenna, that is designed to pair with Yaesu’s mobile radios (such as the FT-100D, FT-857, FT-891 and the FT-991A base station). The antenna whip is driven up and down outside of a tuning coil by an electric motor to achieve resonance on all bands from 40 m up to 70 cm.
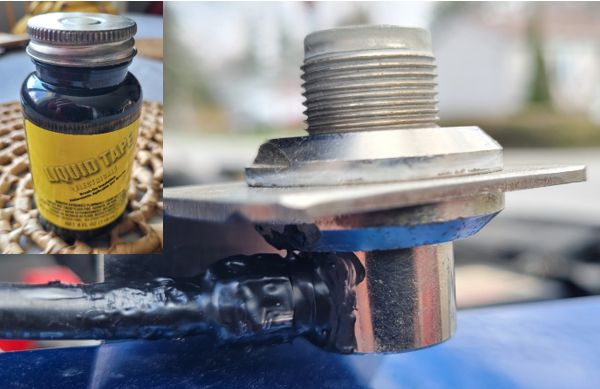
There are many, many options for mounting the antenna. Initially I though of using a stake pocket mount on the side of the bed at the back of the truck, but in my previous truck installation I found that with the antenna mounted in the back, it got in the way of loading the bed of the truck or putting a canoe on the roof, so I decided to put the antenna up front on the passenger side fender. I already had the same mount for my VHF/UHF antenna on the driver’s side of the truck and have been very satisfied with that. So, I duly purchased the mirror image Comet fender mounting bracket, $25 US from Ham Radio Outlet, to match the one on the other side of the truck.
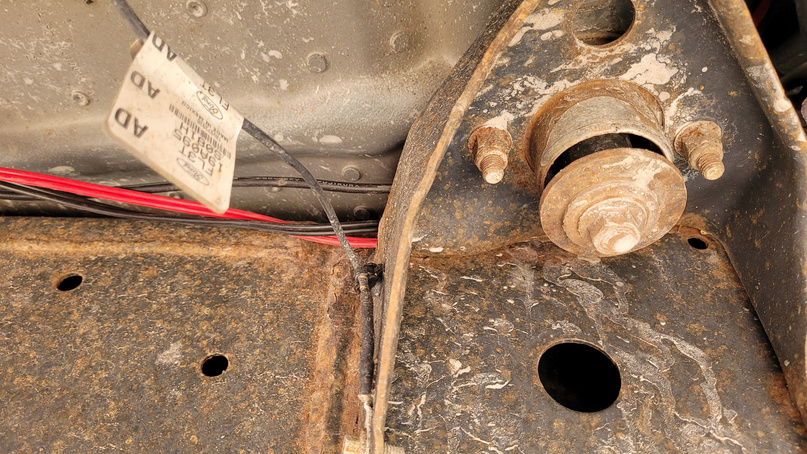
The antenna mounting bracket uses an existing bolt under the truck hood and requires no drilling or adjustment. The ¾ inch hole for the antenna is a bit large for the SO239 type attachment that the ATAS uses, but it works well enough. I will monitor the ground connection as this is one area that I have found troublesome in the past with the ATAS antenna, which can stop tuning if the ground connection becomes poor.
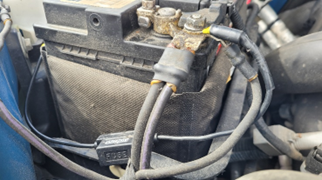
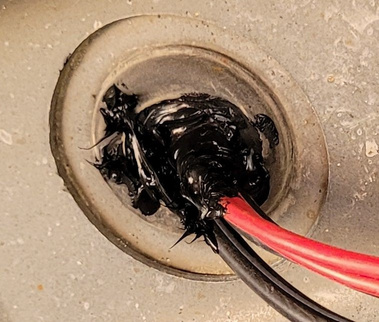
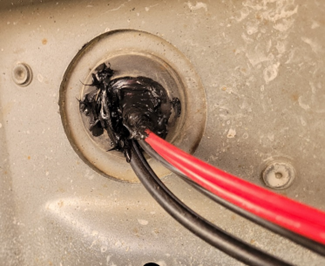
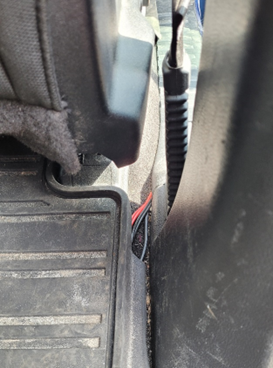
Having made the difficult decision, I then opted to put the radio under the passenger side front seat, since I can run the power and coax cables down the firewall and under the vehicle to a handily placed drain point that has a rubber grommet in the passenger side footwell. This means a fairly short power cable and coax run and there are easily removable panels along the door edge that allow me to hide the cables until they pop out at the side of the passenger seat.
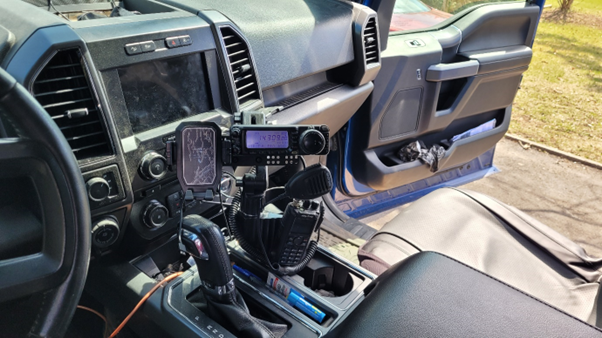
For the radio, I chose to install my Yaesu FT-100D which is an all mode, all band 100W mobile radio with a removable control head that I have a mobile mounting bracket and separation kit for. The FT-100D (long out of production) is similar in design and operation to the FT-857 (now out of production) and the current model the FT-891, and also similar to the QRP FT-817/818. I chose to mount the radio control head on my existing Lido bracket mounted in the forward cup holder. The only remaining task is to finalise a location and mount for the mic and to tidy the wiring between the control head and the radio body.

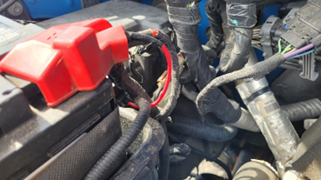
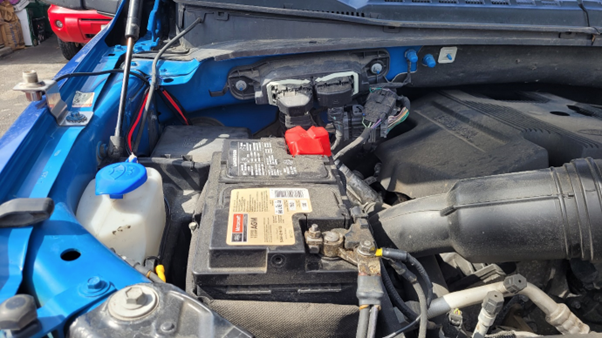


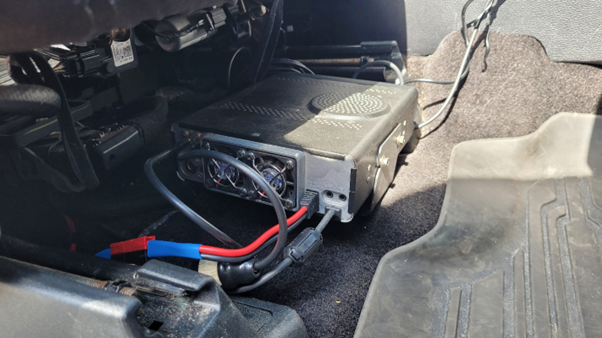
The whole install was completed in an afternoon and required only common tools except for the power pole crimp tool, since I chose to use Power Poles on the radio power cable.
I have tested the install by tuning the ATAS to the 40, 20, 17, 10 and 6 meter bands and making about 10 QSOs. I also used it for a small number of my QSOs (and some attempted QSOs with Club members!) alongside a portable station while activating a POTA park and contesting in the Solar Eclipse QSO Party on Monday 9th April, so I’m happy to say the new mobile install works well. Tuning across the band and using the control head switches is an easy reach from the driver’s seat, with the minimum of distraction.
Next steps. Standby for an update on some minor repairs to the radio mic and for the install of my VHF/UHF mobile radio to replace the handheld that I have been using for the last year or so! Let’s see if I can get that completed before the upcoming Club mobile radio show and tell.
Let’s see and hear about your mobile radio install.
Rob VE3RXH
Appears in: Rambler Vol.66 Issue 8